前言
本篇记录学习SpringBoot框架的过程。
官网:Spring | Home
版本:
- Maven:3.6.1
- JDK:1.8
- SpringBoot:2.3.4
简介
“Spring Boot makes it easy to create stand-alone, production-grade Spring based Applications that you can ‘just run’.”
优势
Create stand-alone Spring applications
创建独立Spring应用
Embed Tomcat, Jetty or Undertow directly (no need to deploy WAR files)
内嵌web服务器
Provide opinionated ‘starter’ dependencies to simplify your build configuration
自动starter依赖,简化构建配置
Automatically configure Spring and 3rd party libraries whenever possible
自动配置Spring以及第三方功能
Provide production-ready features such as metrics, health checks, and externalized configuration
提供生产级别的监控、健康检查及外部化配置
Absolutely no code generation and no requirement for XML configuration
无代码生成、无需编写XML
快速入门
以构建一个简单的HelloWorldweb应用为例。
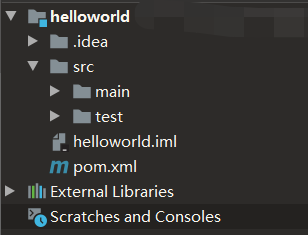
工程创建
新建一个maven工程
配置pom.xml文件,引入两个依赖:
1
2
3
4
5
6
7
8
9
10
11
12
13
14
15
16
17
18
19
20
21
22
23
24
| <?xml version="1.0" encoding="UTF-8"?>
<project xmlns="http://maven.apache.org/POM/4.0.0"
xmlns:xsi="http://www.w3.org/2001/XMLSchema-instance"
xsi:schemaLocation="http://maven.apache.org/POM/4.0.0 http://maven.apache.org/xsd/maven-4.0.0.xsd">
<modelVersion>4.0.0</modelVersion>
<groupId>org.example</groupId>
<artifactId>helloworld</artifactId>
<version>1.0-SNAPSHOT</version>
<parent>
<groupId>org.springframework.boot</groupId>
<artifactId>spring-boot-starter-parent</artifactId>
<version>2.3.4.RELEASE</version>
</parent>
<dependencies>
<dependency>
<groupId>org.springframework.boot</groupId>
<artifactId>spring-boot-starter-web</artifactId>
</dependency>
</dependencies>
</project>
|
创建目录src/main/java/boot,并在其中创建主程序MainApplication
1
2
3
4
5
6
7
8
9
10
11
12
13
14
| import org.springframework.boot.SpringApplication;
import org.springframework.boot.autoconfigure.SpringBootApplication;
@SpringBootApplication
public class MainApplication {
public static void main(String[] args) {
SpringApplication.run(MainApplication.class,args);
}
}
|
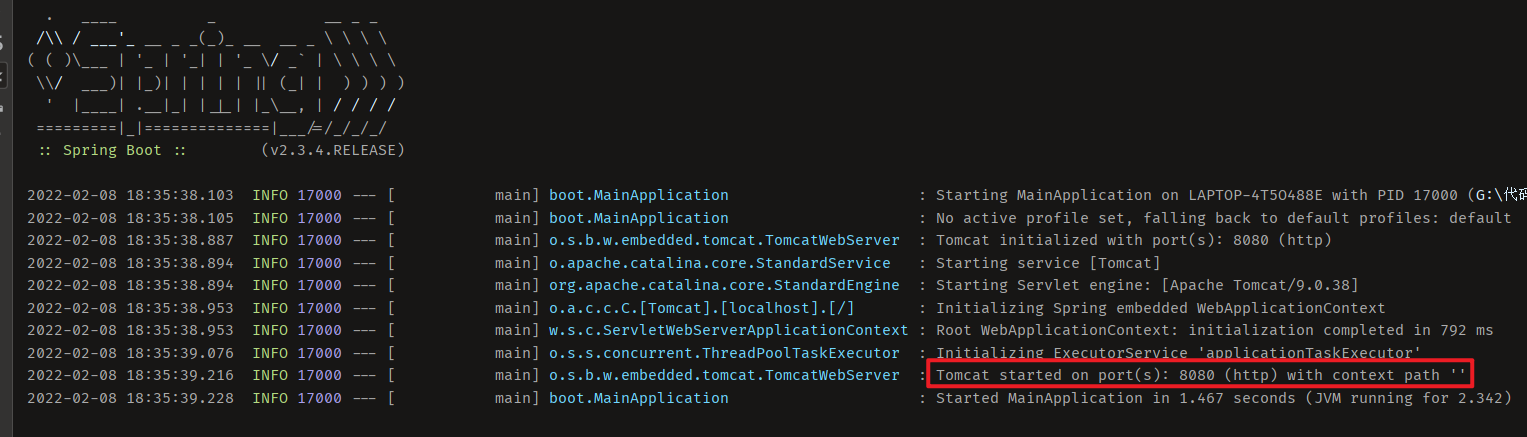
无需配置tomcat,直接运行该主程序启动web服务
创建目录src/main/java/boot/controller,并在其中编写业务类HelloController:
1
2
3
4
5
6
7
8
9
10
11
| import org.springframework.web.bind.annotation.RequestMapping;
import org.springframework.web.bind.annotation.RestController;
@RestController
public class HelloController {
@RequestMapping("/hello")
public String handle01() {
return "Hello, SpringBoot2!";
}
}
|
说明:
注解@Controller源码中包含@Controller以及@ResponseBody
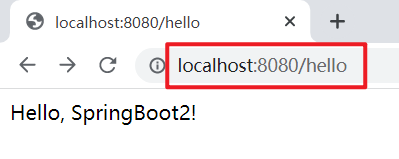
运行主程序,访问默认端口(8080),即可看到展示信息:
配置
在目录src/main/resources下创建配置文件application.properties:
说明:
这里web服务的修改运行端口
更多配置信息可查看官网:Common Application Properties (spring.io)
部署
在pom.xml配置文件中导入如下依赖:
1
2
3
4
5
6
7
8
| <build>
<plugins>
<plugin>
<groupId>org.springframework.boot</groupId>
<artifactId>spring-boot-maven-plugin</artifactId>
</plugin>
</plugins>
</build>
|
可以将项目直接打成jar包
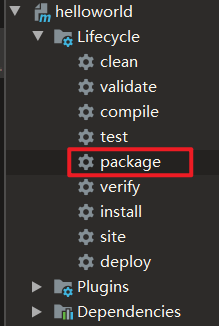
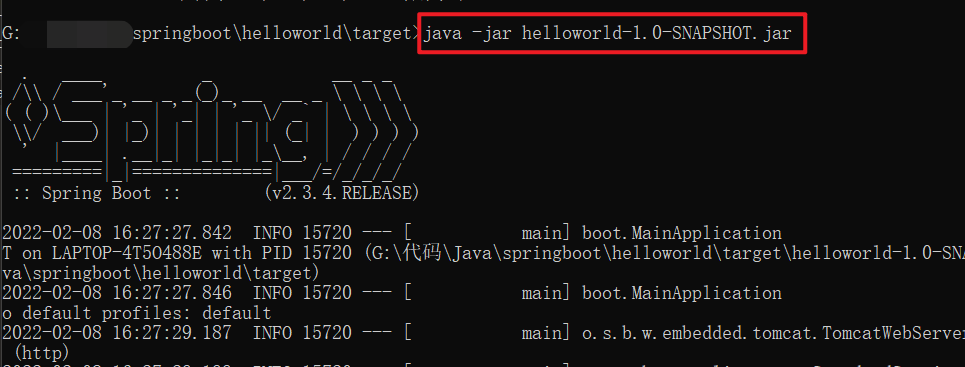
在jar包存在的目录下,启动cmd,直接运行:
依赖管理说明
父项目依赖管理
在上述案例中可以看到在配置pom.xml配置文件时,引入父依赖管理:
1
2
3
4
5
| <parent>
<groupId>org.springframework.boot</groupId>
<artifactId>spring-boot-starter-parent</artifactId>
<version>2.3.4.RELEASE</version>
</parent>
|
查看源码可以看到它的父项目如下:
1
2
3
4
5
| <parent>
<groupId>org.springframework.boot</groupId>
<artifactId>spring-boot-dependencies</artifactId>
<version>2.3.4.RELEASE</version>
</parent>
|
再次点击其源码查看,就可以看到各种依赖:
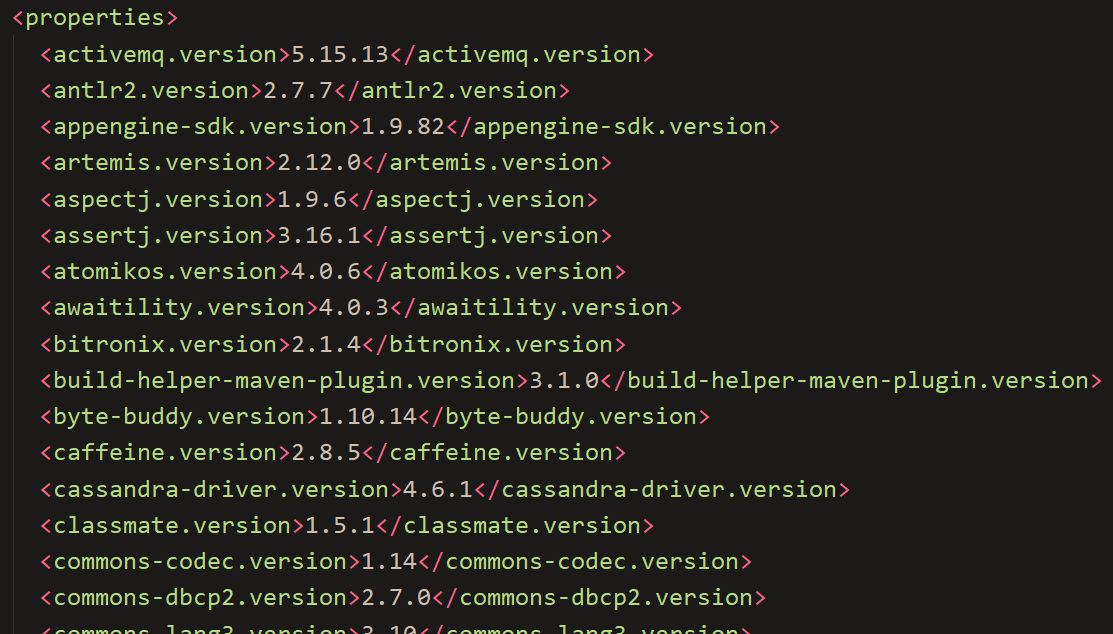
几乎声明了所有开发中常用的依赖的版本号——自动版本仲裁机制。这也就使得在pom.xml配置文件中添加所需依赖不用配置版本号(会有默认)。
如果需要的依赖版本跟默认有冲突,可以手动更改版本号(以mysql为例):
1
2
3
4
| <dependency>
<groupId>mysql</groupId>
<artifactId>mysql-connector-java</artifactId>
</dependency>
|
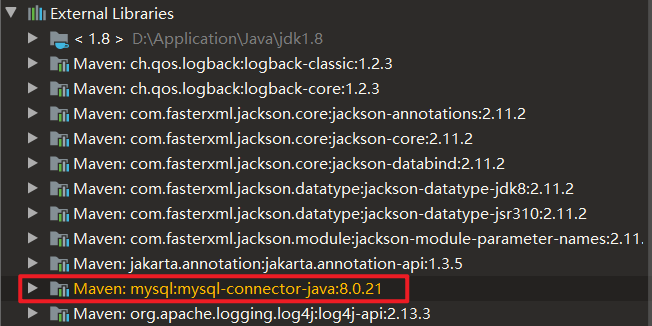
可以看到默认版本为8.0.21
更改版本号有两种方式:
直接添加版本号:
1
2
3
4
5
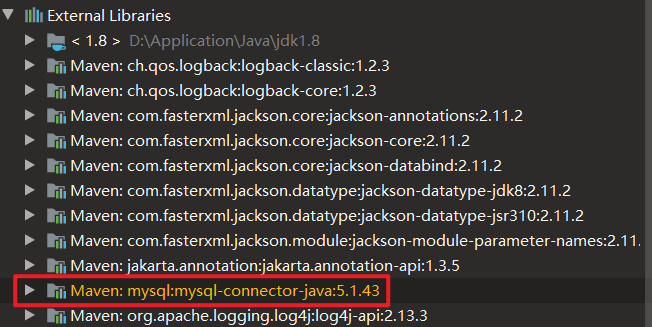
| <dependency>
<groupId>mysql</groupId>
<artifactId>mysql-connector-java</artifactId>
<version>5.1.43</version>
</dependency>
|
添加<properties>配置:
1
2
3
4
5
6
7
8
9
10
| <properties>
<mysql.version>5.1.43</mysql.version>
</properties>
<dependencies>
<dependency>
    <groupId>mysql</groupId>
    <artifactId>mysql-connector-java</artifactId>
</dependency>
</dependencies>
|
说明:
如果配置少的话可以选择直接添加版本号;如果多的话建议用<properties>配置,便于管理。
starter场景启动器
以spring-boot-starter-web为例,官方给出了许多spring-boot-starter-*(*就是某种场景),只要引入starter,这个场景的所有常规需要的依赖都会自动引入。
Developing with Spring Boot
第三方提供的简化开发的场景启动器(命名规范):*-spring-boot-starter
所有场景启动器最底层的依赖如下:
1
2
3
4
5
6
| <dependency>
<groupId>org.springframework.boot</groupId>
<artifactId>spring-boot-starter</artifactId>
<version>2.3.4.RELEASE</version>
<scope>compile</scope>
</dependency>
|
自动配置
组件配置
点击查看spring-boot-starter-web源码可以看到,已经自动化配置了Tomcat依赖、SpringMVC全套组件:
1
2
3
4
5
6
7
8
9
10
11
12
13
14
15
16
17
18
19
20
21
22
23
24
25
26
27
28
29
30
31
32
| <dependencies>
<dependency>
  <groupId>org.springframework.boot</groupId>
  <artifactId>spring-boot-starter</artifactId>
  <version>2.3.4.RELEASE</version>
  <scope>compile</scope>
</dependency>
<dependency>
<groupId>org.springframework.boot</groupId>
<artifactId>spring-boot-starter-json</artifactId>
<version>2.3.4.RELEASE</version>
<scope>compile</scope>
</dependency>
<dependency>
<groupId>org.springframework.boot</groupId>
<artifactId>spring-boot-starter-tomcat</artifactId>
<version>2.3.4.RELEASE</version>
<scope>compile</scope>
</dependency>
<dependency>
<groupId>org.springframework</groupId>
<artifactId>spring-web</artifactId>
<version>5.2.9.RELEASE</version>
<scope>compile</scope>
</dependency>
<dependency>
<groupId>org.springframework</groupId>
<artifactId>spring-webmvc</artifactId>
<version>5.2.9.RELEASE</version>
<scope>compile</scope>
</dependency>
</dependencies>
|
组件扫描
主程序所在包及其下面的所有子包里面的组件都会被默认扫描进来,因此无需配置包扫描。
如果想要改变包扫描目录,有两种方式:
- 在主程序类之前配置注解
@SpringBootApplication(scanBasePackages="xxx")
- 在主程序类之前添加注解
@ComponentScan("xxx")
后记
Spring家族中必须掌握的一课。