Hexo用wowjs给博客添加动画效果
前言
本文将介绍如何利用wowjs给博客添加动画效果。或丝滑,或炫酷都可以自行更改。
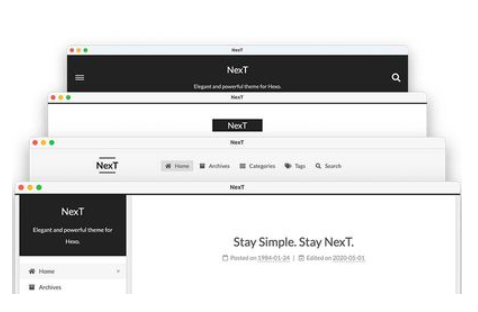
效果见博客首页的博文卡片以及侧边栏卡片的动画样式
查看更多样式见:animate.css 参考文档
本篇仅使用butterfly_v3.6.0 +的主题版本,如果是在这之前的版本,请移步下方教程链接。
操作
配置方案
-
在
\themes\butterfly\source\js目录下新建wow_init.js文件,并写入以下内容:1
2
3
4
5
6
7
8
9
10
11
12
13
14
15wow = new WOW({
boxClass: 'wow',
// 当用户滚动时显示隐藏框的类名称
animateClass: 'animate__animated',
// 触发 CSS 动画的类名称(动画库默认为"animate.css"库)
offset: 0,
// 定义浏览器视口底部与隐藏框顶部之间的距离。
// 当用户滚动并到达此距离时,将显示隐藏的框。
mobile: false,
// 在移动设备上打开/关闭wow.js。
// 经测试此项配置无效。
live: true
// 在页面上检查新的 wow.js元素。
})
wow.init(); -
在
\themes\butterfly\layout\includes\third-party目录下新建wowjs.pug文件,并写入以下内容:1
2
3
4
5
6
7
8
9
10
11
12
13
14
15.pjax-reload
if theme.wowjs.animateitem
each item in theme.wowjs.animateitem
script(async).
var arr = document.getElementsByClassName('!{item.class}');
for(var i = 0;i<arr.length;i++){
arr[i].classList.add('wow');
arr[i].classList.add('!{item.style}');
arr[i].setAttribute('data-wow-duration', '!{item.duration}');
arr[i].setAttribute('data-wow-delay', '!{item.delay}');
arr[i].setAttribute('data-wow-offset', '!{item.offset}');
arr[i].setAttribute('data-wow-iteration', '!{item.iteration}');
}
script(defer src=url_for(theme.CDN.wowjs))
script(defer src=url_for(theme.CDN.wowjs_init)) -
修改
\themes\butterfly\layout\includes\head.pug中的内容,添加以下代码:1
2
3//- animate_css
if theme.wowjs.enable
link(rel='stylesheet' href=url_for(theme.CDN.animate_css) media="print" onload="this.media='all'")添加位置如下:

-
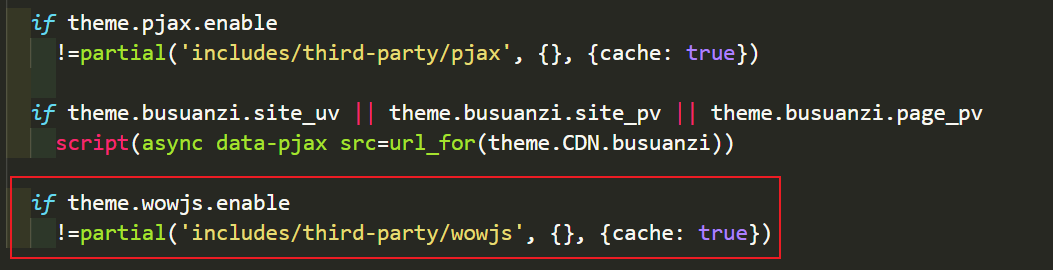
修改
\themes\butterfly\layout\includes\additional-js.pug中的内容,添加如下代码:1
2if theme.wowjs.enable
!=partial('includes/third-party/wowjs', {}, {cache: true})在最下方添加就好:
-
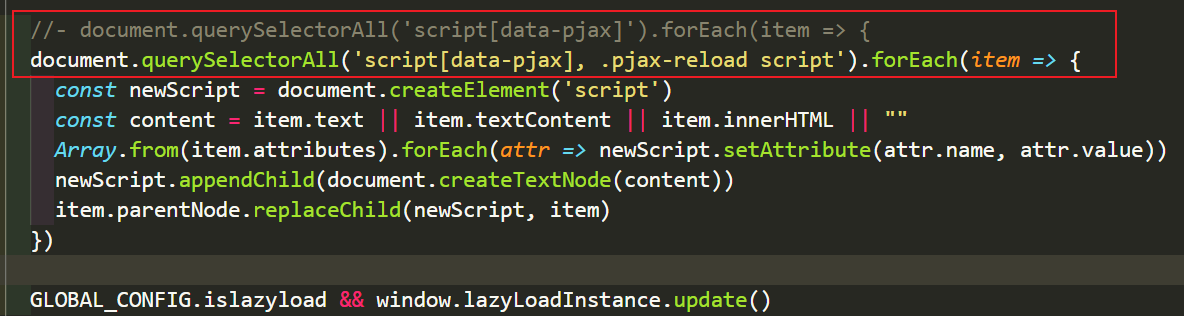
修改
\themes\butterfly\layout\includes\third-party\pjax.pug的内容:删去代码:
1
document.querySelectorAll('script[data-pjax]').forEach(item => {
将其替换为:
1
document.querySelectorAll('script[data-pjax], .pjax-reload script').forEach(*item* *=>* {
效果如下:
-
找到主题配置文件
_config.butterfly.yml,添加CDN配置项:1
2
3
4
5CDN:
# main
wowjs: https://gcore.jsdelivr.net/gh/graingert/wow@1.3.0/dist/wow.min.js
wowjs_init: /js/wow_init.js # 之后可以自己换成CDN链接
animate_css: https://cdnjs.cloudflare.com/ajax/libs/animate.css/4.1.1/animate.min.css -
找到主题配置文件
_config.butterfly.yml,添加wowjs开关配置项。class 和 style 是必填项,其余四个是选填项。
1
2
3
4
5
6
7
8
9
10
11
12#wowjs动画效果
wowjs:
enable: true #控制动画开关。true是打开,false是关闭
animateitem:
- class: recent-post-item #必填项,需要添加动画的元素的class
style: animate__fadeInLeft #必填项,需要添加的动画
duration: 600ms #选填项,动画持续时间,单位可以是ms也可以是s。例如3s,700ms。
delay: 200ms #选填项,动画开始的延迟时间,单位可以是ms也可以是s。例如3s,700ms。
offset: 100 #选填项,开始动画的距离(相对浏览器底部)
iteration: 1 #选填项,动画重复的次数
- class: card-widget
style: animate__fadeInRightBig #首页外挂卡片效果 -
至此配置完成,重新部署就可以看到效果了。
外挂标签配置方案
如果想要给外挂标签添加同样的动画效果,可以参考Akilarの糖果屋,教程链接如下,里面有详细的配置教程和使用方法:
教程链接:Add Blog Animation – Wowjs | Akilarの糖果屋
后记
查看更多动画样式见:animate.css 参考文档
本博客所有文章除特别声明外,均采用 CC BY-NC-SA 4.0 许可协议。转载请注明来自 花猪のBlog!
 微信
微信 支付宝
支付宝
相关推荐


评论