Nginx+uWSGI+Flask部署至Ubuntu
前言
最近在学习flask,想做一个简单的示例Demo,并将其部署在服务器上。
因为服务器的80端口已用于展示个人博客,所以会将本项目监听于其他端口,定为8001。
服务器为Ubuntu 20.04(虚拟机),IP地址:192.168.75.138
正文
项目环境搭建
-
首先创建虚拟环境,项目文件之后也要放到该环境中
创建目录
/home/flask_demo,并进入该目录1
2sudo mkdir home/flask_demo
cd home/flask_demo -
安装虚拟环境
命令如下:
1
sudo pip install virtualenv
-
生成文件夹
ENV_flask,进入其中命令如下:
1
2
sudo virtualenv ENV_flask
cd ENV_flask -
激活虚拟环境
命令如下:
1
source bin/activate

-
在虚拟环境下安装flask
命令如下:
1
sudo pip install flask
-
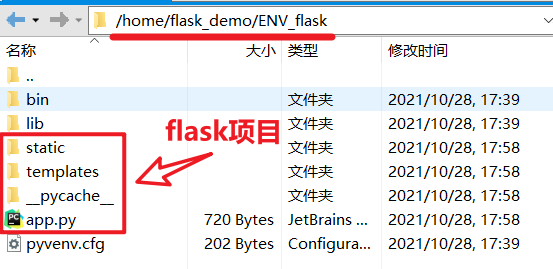
将flask项目的
Demo拷贝至/home/flask_demo/ENV_flask下这里用到Xftp,也可以采用其他方式
最后
ENV_flask目录的结构如下:1
2
3
4
5
6
7
8
9
10
11
12
13
14
15
16
17
18
19
20
21
22
23
24│ .gitignore
│ app.py
│ pyvenv.cfg
│
├─bin
│ ...
│
├─lib
│ ...
│
├─static
│ ├─css
│ │ ...
│ │
│ └─img
│ ...
│
├─templates
│ 404.html
│ base.html
│ index.html
│
└─__pycache__
....
注意:如果拷贝文件不成功可能是目录权限的问题,需要修改
1
sudo chmod 777 -R /home/flask_demo/ENV_flask/
-
测试
在该目录下执行命令:
1
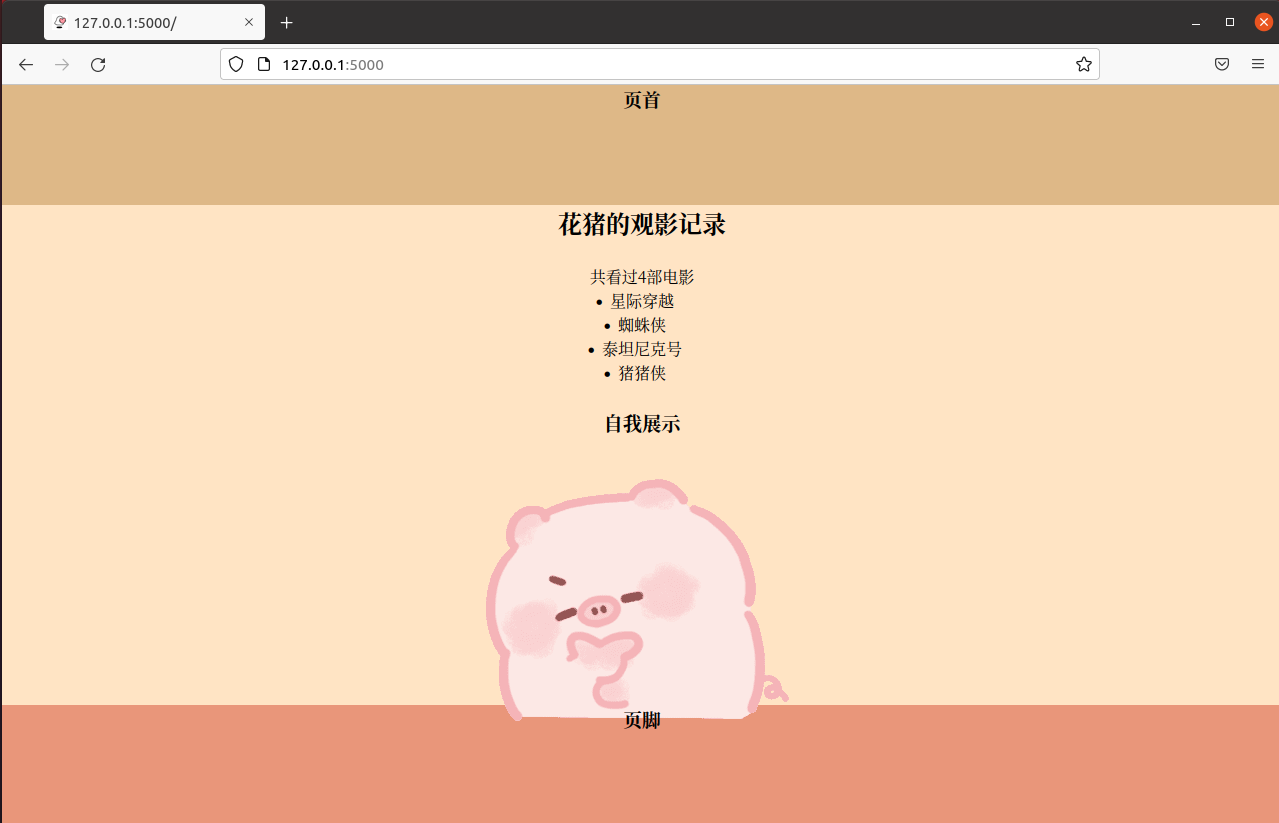
flask run
在http://127.0.0.1:5000/访问(这里直接展示虚拟机中的浏览器效果)

uwsgi
-
在虚拟环境中安装uwsgi
命令如下:
1
sudo pip install uwsgi
-
在虚拟环境中编写uwsgi的配置文件
flask_uwsgi.ini,文件名可随意命令如下:
1
vim flask_uwsgi.ini
写入如下内容:
1
2
3
4
5
6
7
8[uwsgi]
master = true
wsgi-file = app.py
callable = app
http = :8001
processes = 4
threads = 2
buffer-size = 32768保存
简要说明:
http=:8001:为了该阶段测试使用callable = app:中的app需要与flask的Demo中的application变量名一致
-
测试
在终端键入如下命令启动uwsgi服务:
1
2
3
uwsgi --ini flask_uwsgi.ini
nohup uwsgi --ini flask_uwsgi.ini #利用nohup可以无日志打印启动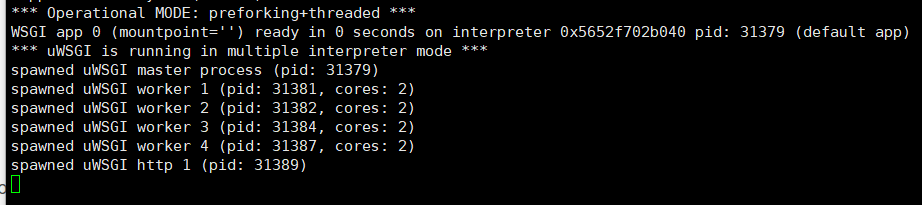
访问8001端口即可看到flask的Demo(这里依然直接用虚拟机的浏览器展示)
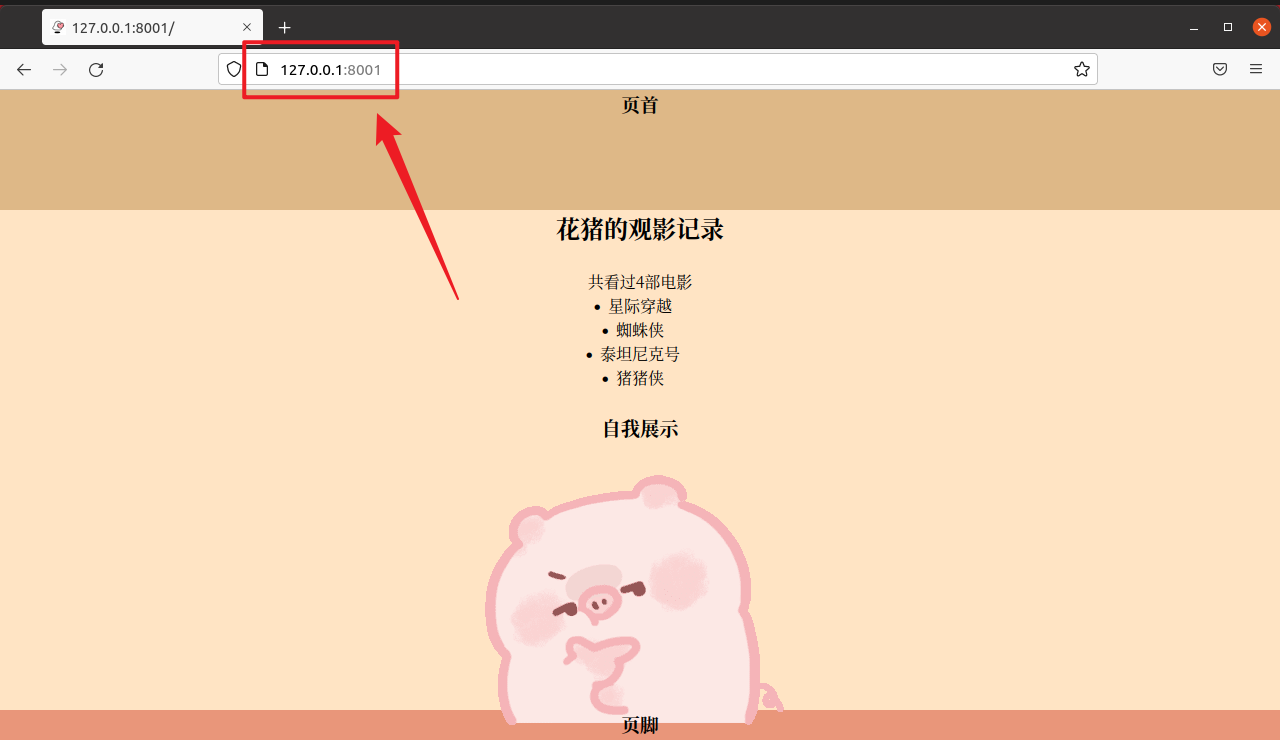
如此,便完成了用uwsgi接管flask的目的
Nginx
现在使用Nginx对Demo进行代理
-
首先需要修改上一步在虚拟环境中创建的
flask_uwsgi.ini配置文件1
vim flask_uwsgi.ini
对
http = :8001条目进行修改1
2
3
4
5
6
7
8[uwsgi]
master = true
wsgi-file = app.py
callable = app
socket = 127.0.0.1:8001
processes = 4
threads = 2
buffer-size = 32768如此,运行的uwsgi服务只能通过本地内部的8001端口进行访问,而不能通过浏览器使用http进行访问。所以下面就需要用nginx来做http代理。
-
返回根目录,安装Nginx
命令如下:
1
2
cd /
sudo apt-get install nginx -
修改nginx的配置文件
/etc/nginx/sites-available/default修改
server部分由于之前部署过
Hexo的服务,所以直接另外添加一个server1
2
3
4
5
6
7
8
9
10
11
12
13
14
15
16
17
18
19
20
21
22
23
24
25
26
27...
server {
# listen 80 default_server;
# listen [::]:80 default_server ipv6only=on;
listen 8001; # 监听端口,http默认80
# root /usr/share/nginx/html;
root /home/flask_demo/ENV_flask; # flask项目根路径
# index index.html index.htm;
# Make site accessible from http://localhost/
# server_name localhost;
server_name 192.168.75.138; # 公网ip或已解析ip的域名
location / {
# First attempt to serve request as file, then
# as directory, then fall back to displaying a 404.
# try_files $uri $uri/ =404;
# Uncomment to enable naxsi on this location
# include /etc/nginx/naxsi.rules
include uwsgi_params; # 使用nginx内置的uwsgi配置参数文件
uwsgi_pass 127.0.0.1:8001; # 转发请求到该地址端口
uwsgi_param UWSGI_SCRIPT main:app; # 调用的脚本名称和application变量名
}
}
...所以完整的
default配置文件内容如下:1
2
3
4
5
6
7
8
9
10
11
12
13
14
15
16
17
18
19
20
21
22
23
24
25
26
27
28
29
30
31
32
33
34
35
36
37
38
39
40
41
42
43
44
45
46
47
48
49
50
51
52
53
54
55
56
57
58
59
60
61
62
63
64
65
66
67
68
69
70
71
72
73
74
75
76
77
78
79
80
81
82
83
84
85
86
87
88
89
90
91
92
93
94
95
96
97
98
99
100
101
102
103
104
105
106
107
108
109
110
111
112
113
114
115
116
117
118
119
120##
# You should look at the following URL's in order to grasp a solid understanding
# of Nginx configuration files in order to fully unleash the power of Nginx.
# https://www.nginx.com/resources/wiki/start/
# https://www.nginx.com/resources/wiki/start/topics/tutorials/config_pitfalls/
# https://wiki.debian.org/Nginx/DirectoryStructure
#
# In most cases, administrators will remove this file from sites-enabled/ and
# leave it as reference inside of sites-available where it will continue to be
# updated by the nginx packaging team.
#
# This file will automatically load configuration files provided by other
# applications, such as Drupal or Wordpress. These applications will be made
# available underneath a path with that package name, such as /drupal8.
#
# Please see /usr/share/doc/nginx-doc/examples/ for more detailed examples.
##
# Default server configuration
#
# Hexo
server {
listen 80 default_server;
listen [::]:80 default_server;
# SSL configuration
#
# listen 443 ssl default_server;
# listen [::]:443 ssl default_server;
#
# Note: You should disable gzip for SSL traffic.
# See: https://bugs.debian.org/773332
#
# Read up on ssl_ciphers to ensure a secure configuration.
# See: https://bugs.debian.org/765782
#
# Self signed certs generated by the ssl-cert package
# Don't use them in a production server!
#
# include snippets/snakeoil.conf;
root /var/www/hexo;
# Add index.php to the list if you are using PHP
index index.html index.htm index.nginx-debian.html;
server_name _;
location / {
# First attempt to serve request as file, then
# as directory, then fall back to displaying a 404.
try_files $uri $uri/ =404;
}
# pass PHP scripts to FastCGI server
#
#location ~ \.php$ {
# include snippets/fastcgi-php.conf;
#
# # With php-fpm (or other unix sockets):
# fastcgi_pass unix:/var/run/php/php7.4-fpm.sock;
# # With php-cgi (or other tcp sockets):
# fastcgi_pass 127.0.0.1:9000;
#}
# deny access to .htaccess files, if Apache's document root
# concurs with nginx's one
#
#location ~ /\.ht {
# deny all;
#}
}
# Flask应用
server {
# listen 80 default_server;
# listen [::]:80 default_server ipv6only=on;
listen 8001; # 监听端口,http默认80
# root /usr/share/nginx/html;
root /home/flask_demo/ENV_flask; # flask项目根路径
# index index.html index.htm;
# Make site accessible from http://localhost/
# server_name localhost;
server_name 192.168.75.138; # 公网ip或已解析ip的域名
location / {
# First attempt to serve request as file, then
# as directory, then fall back to displaying a 404.
# try_files $uri $uri/ =404;
# Uncomment to enable naxsi on this location
# include /etc/nginx/naxsi.rules
include uwsgi_params; # 使用nginx内置的uwsgi配置参数文件
uwsgi_pass 127.0.0.1:8001; # 转发请求到该地址端口
uwsgi_param UWSGI_SCRIPT main:app; # 调用的脚本名称和application变量名
}
}
# Virtual Host configuration for example.com
#
# You can move that to a different file under sites-available/ and symlink that
# to sites-enabled/ to enable it.
#
#server {
# listen 80;
# listen [::]:80;
#
# server_name example.com;
#
# root /var/www/example.com;
# index index.html;
#
# location / {
# try_files $uri $uri/ =404;
# }
#}保存退出
-
重新启动Nginx服务
命令如下:
1
sudo service nginx restart
-
最后回到虚拟环境(项目根目录)下,启动uwsgi服务
命令如下:
1
2
3
cd home/flask_demo/ENV_flask/
uwsgi --ini flask_uwsgi.ini -
效果展示
通过宿主机浏览器,访问
服务器IP:8001,就可以看到效果啦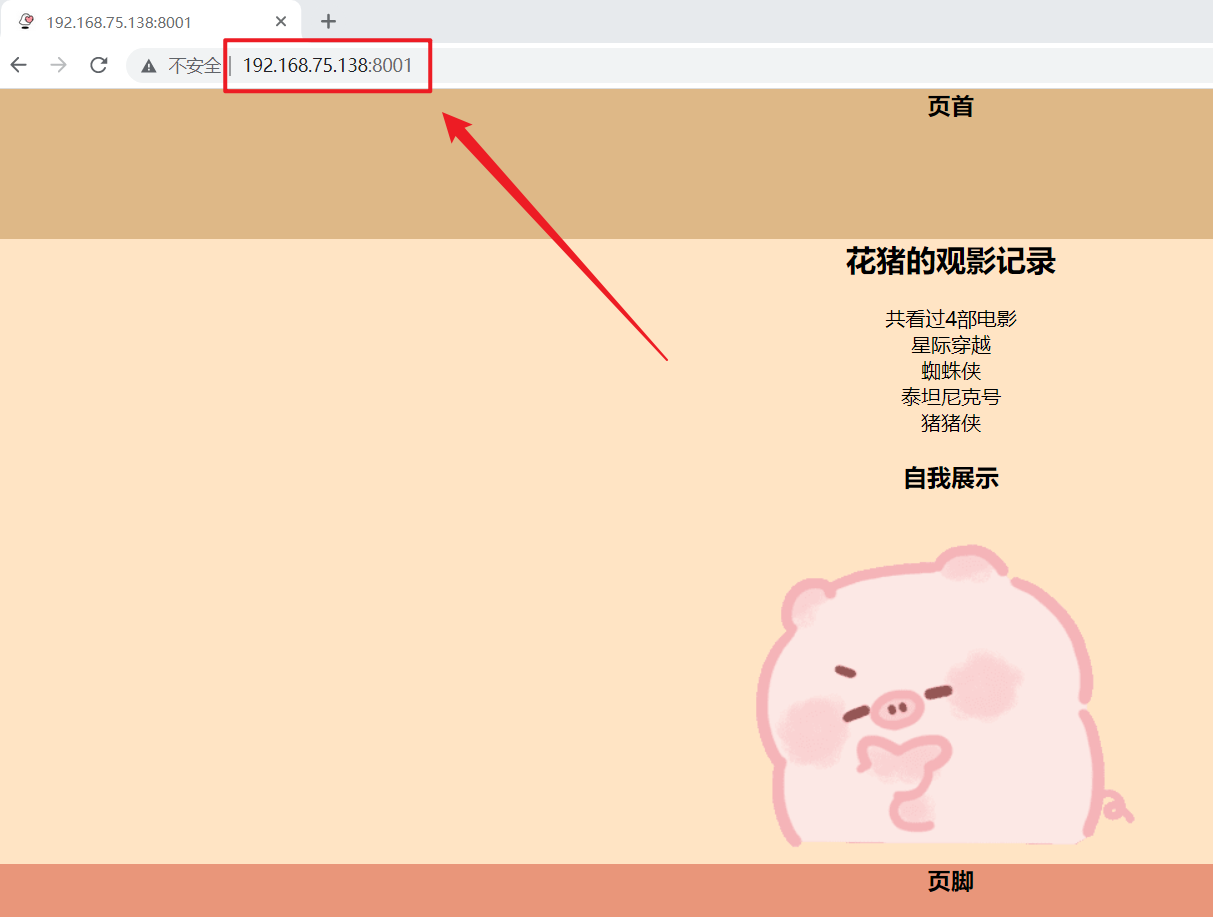
可能遇到的问题
启动uwsgi服务时发现端口被占用
probably another instance of uWSGI is running on the same address (:xxxx).

可以使用如下命令关停该端口:
1 | sudo fuser -k Port/tcp |
例如:关停8001端口:sudo fuser -k 8001/tcp
再重新启动uwsgi服务就可以了
后记
如果想要利用Nginx部署多个服务,直接在default配置文件中添加server项即可。
参考资料:
 微信
微信 支付宝
支付宝