前言
- Lombok插件快速创建Javabean
- IDEA新建SpringBoot工程
Lombok插件
Javabean
可以利用注解快速创建Javabean
在设置中安装Lombok插件

在pom.xml配置文件中添加依赖:
1
2
3
4
| <dependency>
<groupId>org.projectlombok</groupId>
<artifactId>lombok</artifactId>
</dependency>
|
以Car类为例,原写法如下:
1
2
3
4
5
6
7
8
9
10
11
12
13
14
15
16
17
18
19
20
21
22
23
24
25
26
27
28
29
30
31
32
33
34
35
36
37
38
39
40
41
42
| import org.springframework.boot.context.properties.ConfigurationProperties;
import org.springframework.stereotype.Component;
@Component
@ConfigurationProperties(prefix = "mycar")
public class Car {
private String brand;
private Integer price;
public Car() {
}
public Car(String brand, Integer price) {
this.brand = brand;
this.price = price;
}
public String getBrand() {
return brand;
}
public void setBrand(String brand) {
this.brand = brand;
}
public Integer getPrice() {
return price;
}
public void setPrice(Integer price) {
this.price = price;
}
@Override
public String toString() {
return "Car{" +
"brand='" + brand + '\'' +
", price=" + price +
'}';
}
}
|
导入lombok后就能够以注解的形式取代构造方法、getter()、setter()、toString()方法等:
1
2
3
4
5
6
7
8
9
10
11
12
13
14
15
16
17
18
| import lombok.Data;
import lombok.ToString;
import org.springframework.boot.context.properties.ConfigurationProperties;
import org.springframework.stereotype.Component;
@Data
@ToString
@NoArgsConstructor
@AllArgsConstructor
@EqualsAndHashCode
@Component
@ConfigurationProperties(prefix = "mycar")
public class Car {
private String brand;
private Integer price;
}
|
说明:
@Data:生成getter()、setter()方法@ToString:生成toString()方法@NoArgsConstructor:无参构造方法@AllArgsConstructor:全参构造方法@EqualsAndHashCode:Equals() And HashCode()方法
日志类
@Slf4j可以添加在任意类前,方便日志测试,下面以主程序为例:
1
2
3
4
5
6
7
8
9
10
11
12
13
14
15
| import lombok.extern.slf4j.Slf4j;
import org.springframework.boot.SpringApplication;
import org.springframework.boot.autoconfigure.SpringBootApplication;
import org.springframework.context.ConfigurableApplicationContext;
@Slf4j
@SpringBootApplication
public class MainApplication {
public static void main(String[] args) {
ConfigurableApplicationContext run = SpringApplication.run(MainApplication.class,args);
log.info("测试日志");
}
}
|
执行,查看控制台打印输出:

Spring Initializr
-
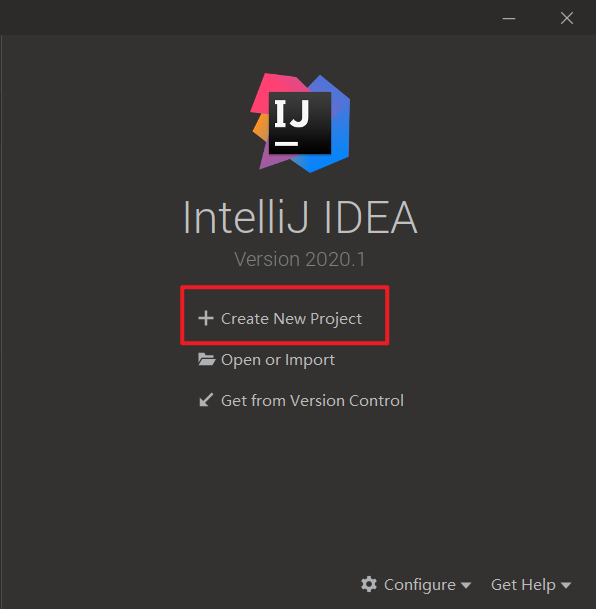
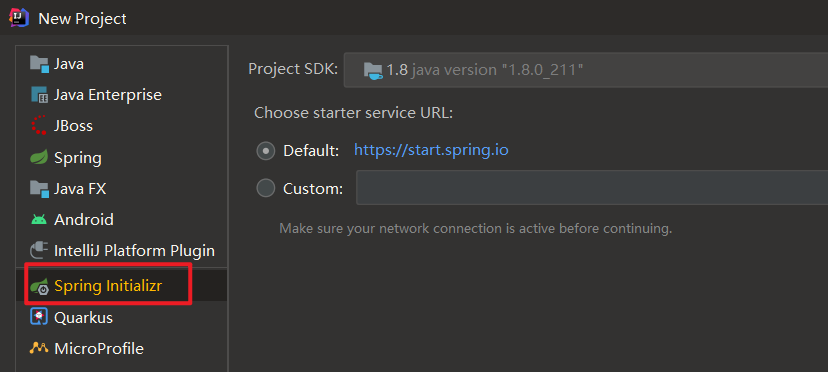
点击新建工程
-
选择Spring Initializr
-
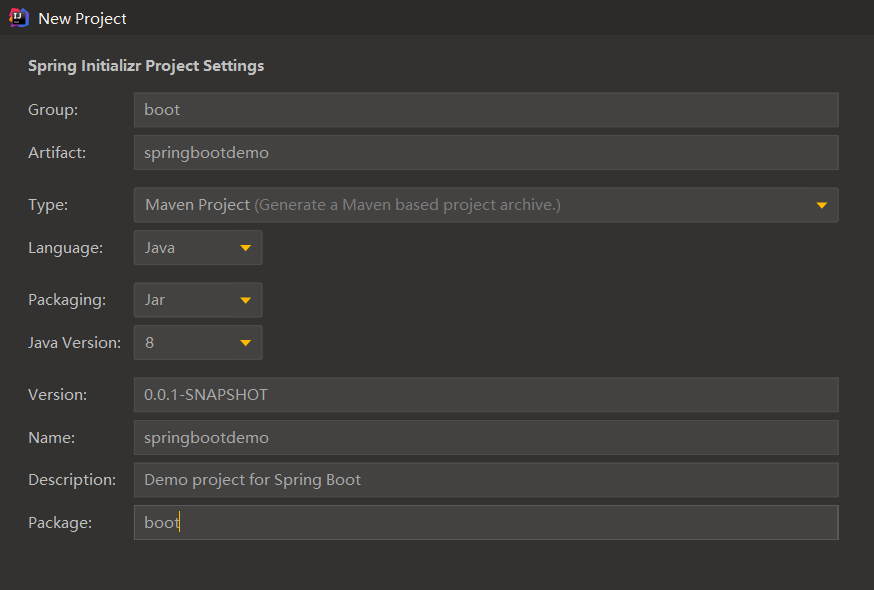
配置工程的一些基本名称、结构信息
-
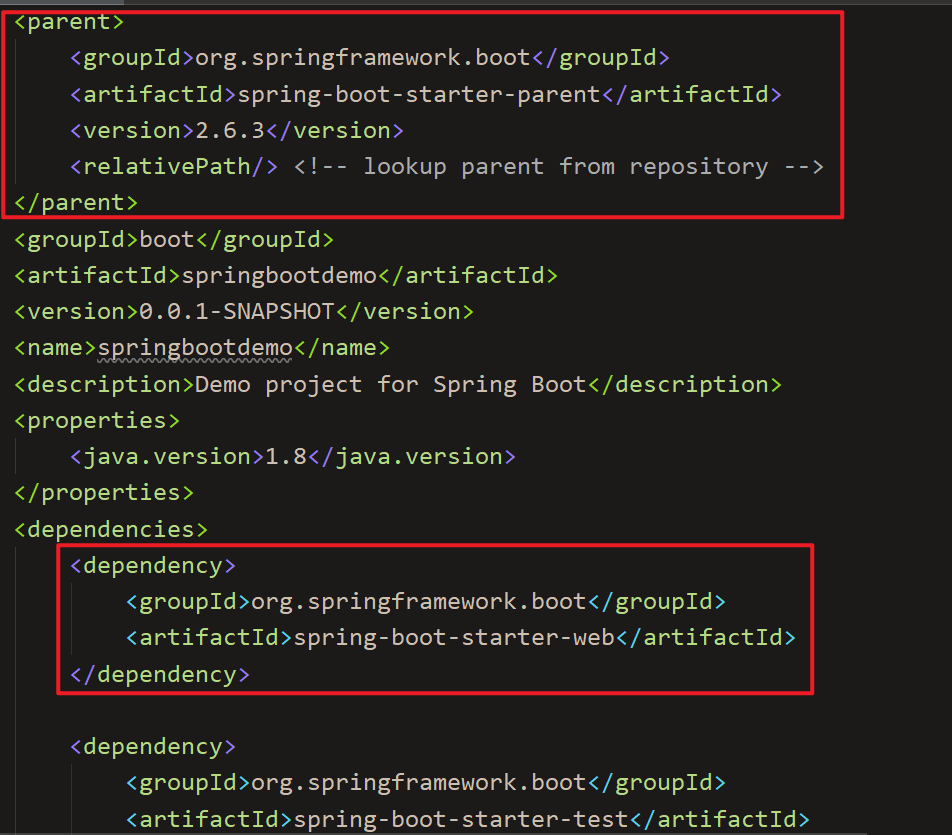
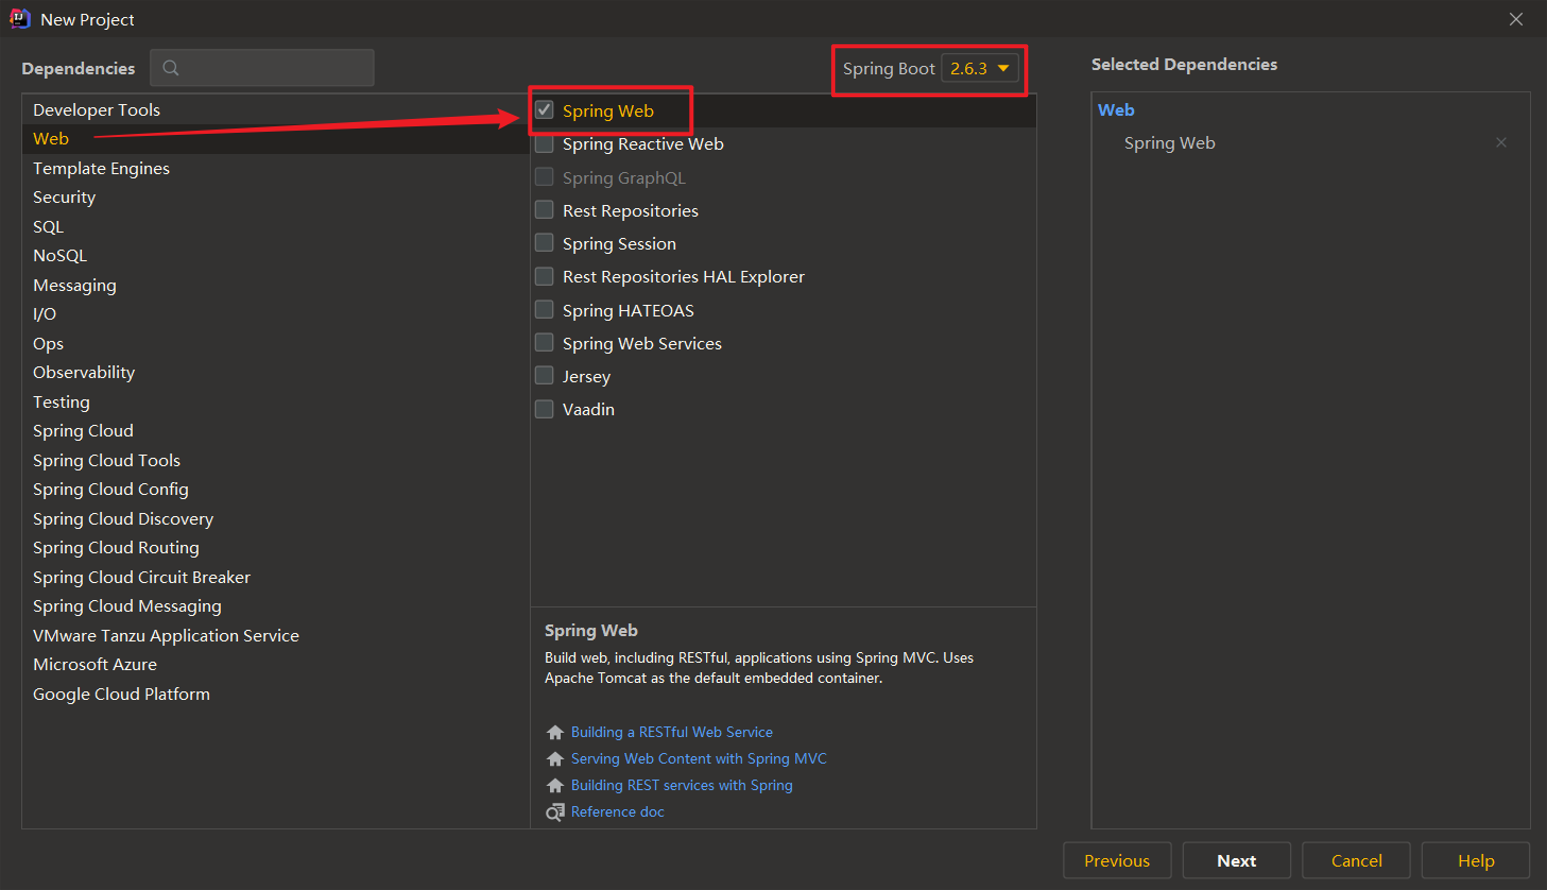
选择该工程所需要添加的依赖(这里选择添加Spring Web),并且可以选择Spring Boot的版本
-
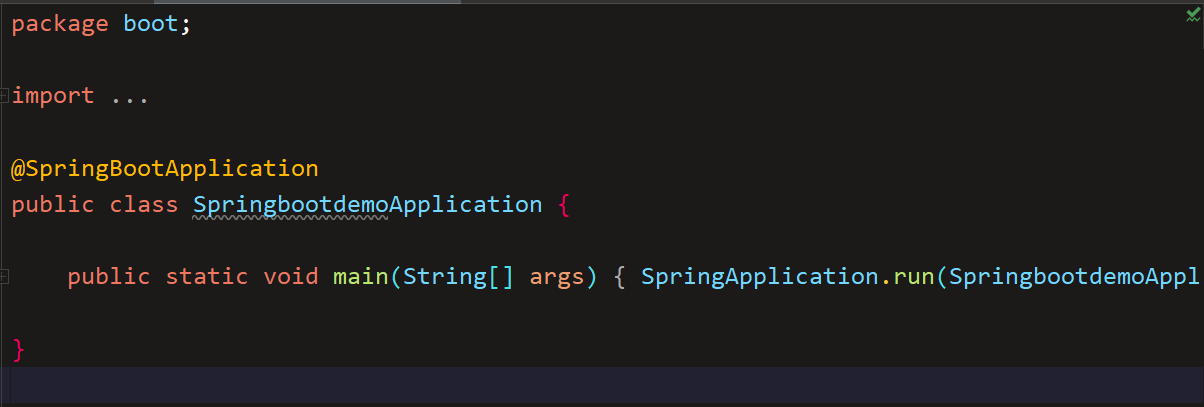
点击下一步,就会自动进行项目联网创建,结构如下:
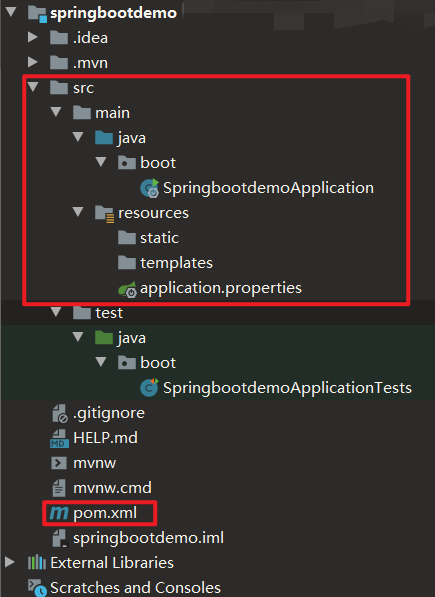
重点关注红框部分。
-
至此,SpringBoot工程快速创建完毕。
后记
用多了就熟了。


